Wednesday, July 31, 2013

handmade paper

I have been making paper since I was a kid and recently after accumulating all kinds of scraps of recycled papers, I decided pull out my paper making supplies to transform all those scraps into something new! Its messy and not the easiest project to tackle but nothing beats the texture of homemade paper!

There are all kinds of ways to create handmade paper (supplies, short cuts, process). The process above is what I use. TIP-I like to speed things up by finishing the drying process in the oven. When my paper is dry enough to peel off the screen, I lay it on a cookie sheet and let it bake in the oven on a low setting until it is completely dry.


 While the natural color of my recycled paper is pretty, I like to kick the color up by painting it.


I use acrylic paint and give the surface a nice thick layer on the front and back.


And while the bright colorful paper is BEAUTIFUL I like to keep going and add pattern to the surface.


I use paint, paint pens, permanent pens, just about anything to add pattern!


The result is beautiful, colorful paper full of texture and perfect to use in all kinds of projects!


Thursday, July 25, 2013

DIY hose stand

My mom has the most beautiful gardens and recently she came up a wonderful idea for a decorative stand for her garden hose. She sketched out her idea and my dad got to work making it! I love the finished project so much that I asked if she would share a little peek inside the process.


rust proof hose hanger from Yard Butler
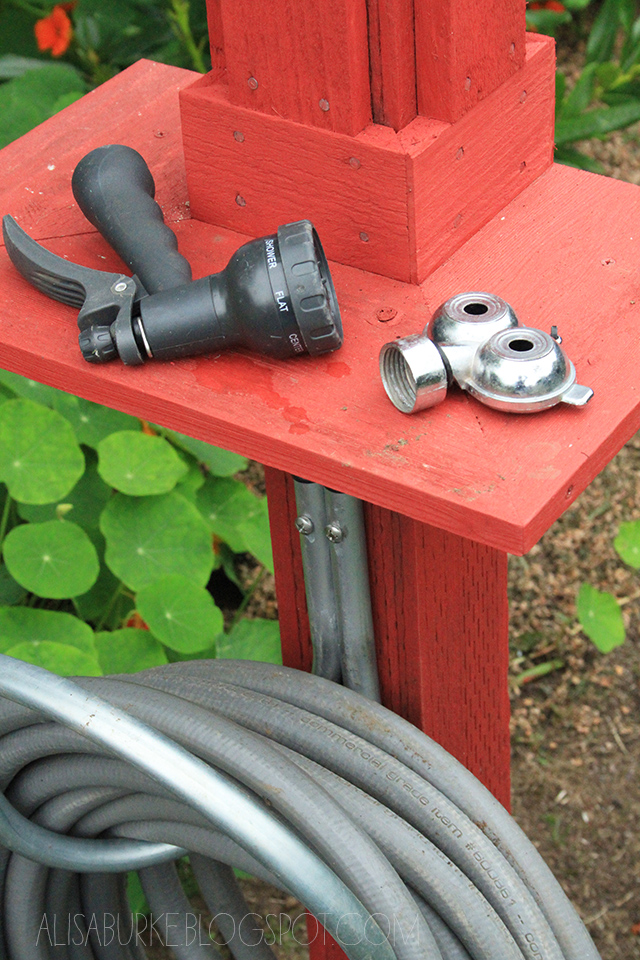
The idea was to create a decorative post with a shelf for hose attachments and a large hook/hanger for the hose. Everything would be painted in a bright color that would compliment the house and the garden.

My dad recycled some wood and a finial from an old fence and topped a pressure treated post with the decorative topper. 

He added the shelf and hanger and painted everything red.

Last, he filled a hole with concrete and mounted the post.

Tuesday, July 23, 2013

wood burned buttons

Lately, I have been on a wood burning kick (see here, here and here) and after finding a bunch of wood medallions at my local craft store I was inspired to transform them into buttons!

I used my wood burning tool to burn all kinds of designs into the wood medallions


and then drilled two holes.


I could have stopped after burning them but I couldn't resist adding a little color. I used watered down acrylic paint to fill the designs with color.

The result is a fun little collection of handmade buttons that I cannot wait to use in my sewing projects!

Monday, July 22, 2013

a peek inside my sketchbook and GIVEAWAY winner announced


The 5 winners of Summer Sketch are...
email me at alisaburke@gmail.com and I will get you access to the class!


LinkWithin

Related Posts with Thumbnails